As a seasoned supplier in the realm of Acrylic Crafts, I’ve witnessed firsthand the growing popularity of acrylic magnets. These charming and versatile items have found their way into homes, offices, and even as promotional giveaways. In this blog, I’ll share a comprehensive guide on how to make acrylic magnets, from the basic materials you’ll need to the step-by-step process. Acrylic Crafts

Materials Required
Before we dive into the process, let’s gather the necessary materials. You’ll need acrylic sheets, which come in various colors and thicknesses. I recommend choosing a thickness of around 2 – 3mm for a sturdy magnet. You’ll also need strong magnets, which can be purchased in different shapes and sizes depending on your design. Other materials include a cutting tool, such as a laser cutter or a craft knife, sandpaper, a drill (if you plan to create holes for hanging), and adhesive. For the design, you can use a printer to print out your desired images or patterns on transfer paper.
Designing Your Acrylic Magnet
The first step in making acrylic magnets is to come up with a design. This is where your creativity can shine. You can create custom designs for personal use, or if you’re looking to sell your magnets, you can design popular themes such as animals, flowers, or holiday motifs. Once you have your design, print it out on transfer paper. Make sure the image is the right size for your acrylic sheet.
Cutting the Acrylic
Cutting the acrylic is a crucial step. If you have access to a laser cutter, it’s the most precise way to cut the acrylic. Simply import your design into the laser cutting software and set the appropriate settings for the thickness of your acrylic. The laser will cut through the acrylic cleanly, leaving a smooth edge.
If you don’t have a laser cutter, you can use a craft knife. First, score the acrylic along the design lines using the craft knife. Apply firm pressure to create a deep score. Then, carefully break the acrylic along the scored line. After cutting, use sandpaper to smooth the edges of the acrylic. This will give your magnet a professional finish.
Applying the Design
Once your acrylic is cut and the edges are smooth, it’s time to apply the design. If you used transfer paper, place the printed side of the paper onto the acrylic. Use a heat source, such as a heat gun or an iron, to transfer the image onto the acrylic. Apply even pressure and heat for a few minutes until the image is fully transferred. Make sure to follow the instructions on the transfer paper for the best results.
Drilling Holes (Optional)
If you want to create a hole for hanging your magnet, you can use a drill. Mark the spot where you want the hole to be and use a drill bit that is the appropriate size. Drill the hole slowly and carefully to avoid cracking the acrylic. After drilling, use sandpaper to smooth the edges of the hole.
Attaching the Magnet
The final step is to attach the magnet to the acrylic. Apply a small amount of adhesive to the back of the magnet and press it firmly onto the acrylic. Make sure the magnet is centered and secure. Let the adhesive dry completely before handling the magnet.
Quality Control
Before selling or using your acrylic magnets, it’s important to conduct quality control. Check the edges of the acrylic for any rough spots or sharp edges. Make sure the design is clear and the magnet is firmly attached. If there are any issues, make the necessary adjustments.
Tips and Tricks
- Choose the right adhesive: There are many types of adhesives available, but not all of them are suitable for acrylic. Look for an adhesive that is specifically designed for acrylic materials.
- Use a template: If you’re making multiple magnets with the same design, use a template to ensure consistency.
- Experiment with different designs: Don’t be afraid to try different designs and colors to create unique and eye-catching magnets.
Conclusion
Making acrylic magnets is a fun and rewarding process. With the right materials and a little creativity, you can create beautiful magnets that are perfect for personal use or for selling. As a supplier of Acrylic Crafts, I’m here to provide you with high-quality acrylic sheets and other materials to help you bring your magnet-making ideas to life.
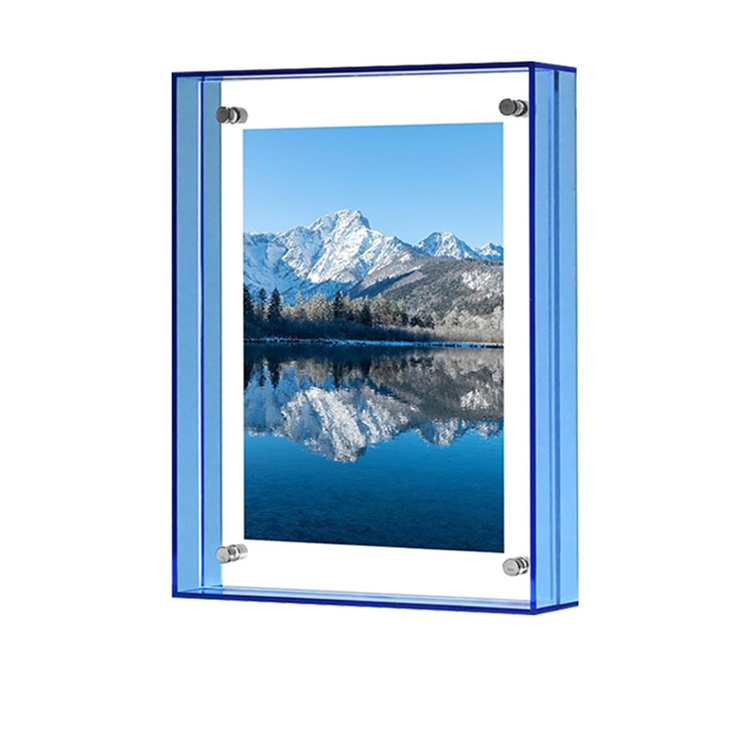
Acrylic Box If you’re interested in purchasing acrylic materials for your magnet-making projects, or if you have any questions about the process, please don’t hesitate to contact us. We’re here to assist you every step of the way.
References
- "Acrylic Crafting Basics" by Crafting Magazine
- "Magnet Making Guide" by DIY Crafts Journal
Wenzhou Daoqin Crafts Co., Ltd.
With abundant experience, we are one of the most professional acrylic crafts manufacturers and suppliers in China. Please rest assured to wholesale bulk customized acrylic crafts from our factory. If you have any enquiry about quotation and free sample, please feel free to email us.
Address: Room 401, Building 5, Wanyang Innovation City, No. 9 Yangyu Road, Binhai New Area, Pingyang County, Wenzhou City, Zhejiang Province, China
E-mail: wzdaoqin@163.com
WebSite: https://www.wzacrylic.com/